Senora Maricela was not all that pleased with life.
In her home country, in a former existence, she had published an upscale magazine.
Yet here she was, teaching New York State farm kids how to ask where’s the library in Spanish.
You know how to ask where it is.
She was a grim, strict woman with burnished, piled-up hair, a lot of formality in her clothing…
And, shall we say, a healthy…disdain…for mispronunciation of her beloved language.
And she was not shy about expressing it.
She rarely reprimanded; she kept order in my seventh grade class by piercing eye.
You really had to toe the line.
But she loved she loved her culture and she loved baking and sweets, and every once in awhile she would relax the atmosphere.
She would bring in these cookies she’d made, or a big serving bowl of arroz con leche for us to try.
One time in class she brought in the fixins to make an azucar, which was milk with chocolate syrup and these flat, oversize square sugar crystals.
She called the sugar crystals baker’s sugar.
I actually got to try some.
It was excellent.
One day the subject got around to dulce de leche, which is a type of Spanish caramel.
When it came to pronunciation, she was on it.
She listened to my dairy farm neighbor murder it for about three tries, then she jumped in.
No!!! No!!! No!!!
Watch me carefully! She stood up straight, held her head up, and pointed toward her lips with all her fingers and thumbs…
Dool….like fool….
Dool say…day…lay chay.
Dulce de leche. Sweet from milk.
So there you go. Straight from Senora Maricela.
Never forgot it.
The caramel sauce I was used to at home is a combination of sugar, then butter, then heavy cream.
The Spanish style caramel, the dulce de leche, was made from condensed milk.
I recently looked up how to DIY dulce de leche, and it was a daunting procedure, let me tell you.
You submerge a can of sweetened condensed milk in water in a big saucepan, and you boil it.
For four hours.

Wait…let’s think about that for a sec…four hours…
…okayyyyyy…
Nah.
Better yet, just swing by the Publix!
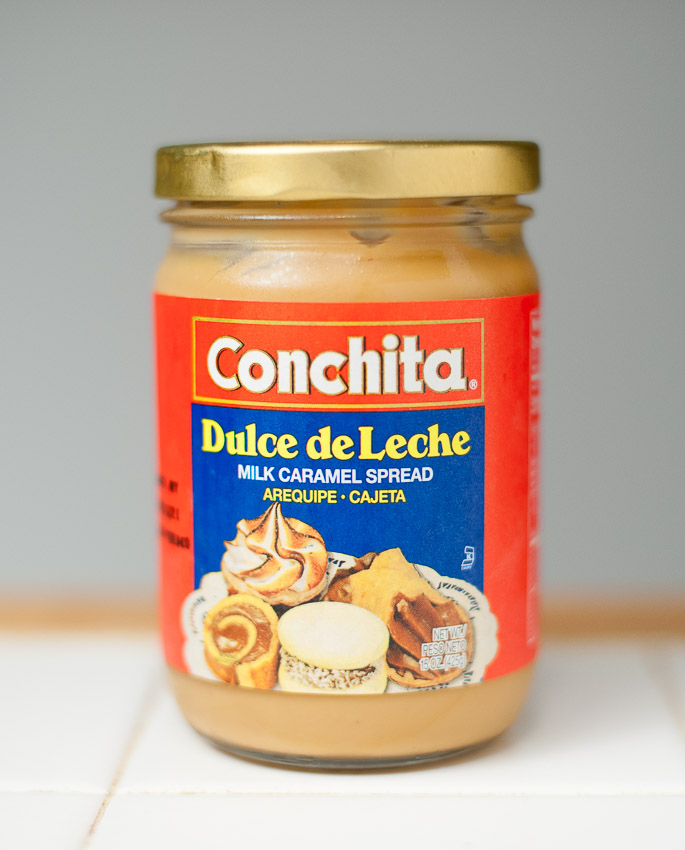
We’re in business!
I took four kinds of cheesecake to Thanksgiving this year, and this one got the most raves by far.
We’re starting with the Taste of Home recipe, and we’re going to stick with it pretty far, with some procedural changes, until we get to the topping.
Then we’ll go offroad a bit.
If you want to cut to the chase, the simplified instructions are on the recipe card.
INGREDIENTS
CRUST
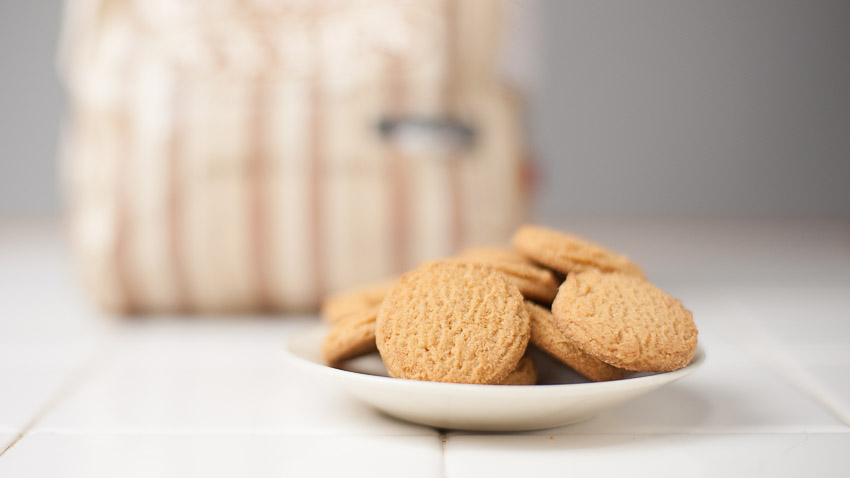
- 7 ounces (give or take) gingersnap cookies
- 1/4 cup walnuts
- 1 tablespoon sugar
- 1/2 teaspoon cinnamon
- 6 tablespoons butter
- pinch of salt
BATTER
- 3 bricks Philly
- 1 cup plus 2 tablespoons sugar
- 1/4 cup 2% milk
- 2 tablespoons flour
- 1 teaspoon vanilla
- 3 eggs lightly beaten
- 13 ounces dulce de leche
- pinch of salt
DULCE DE LECHE TOP LAYER
- 1/2 cup dulce de leche
- 1 tablespoon water; more if needed
CHOCOLATE GANACHE DECORATION
- 2 ounces semisweet chocolate chips
- 2 ounces bittersweet chocolate chips
- 1/2 cup heavy whipping cream
- 1/4 teaspoon instant espresso powder
EQUIPMENT
- 2 oven thermometers
- half hotel pan or standard cookie sheet pan
- 9” Fat Daddio two piece cheesecake pan (link)
- 9″ parchment paper circle
- food processor (link)
- aluminum foil
- digital scale (link)
- Baker’s Joy
- measuring spoons
- small bowls for ingredients
- stand mixer with bowl and paddle attachment (link)
- food strainer medium holes
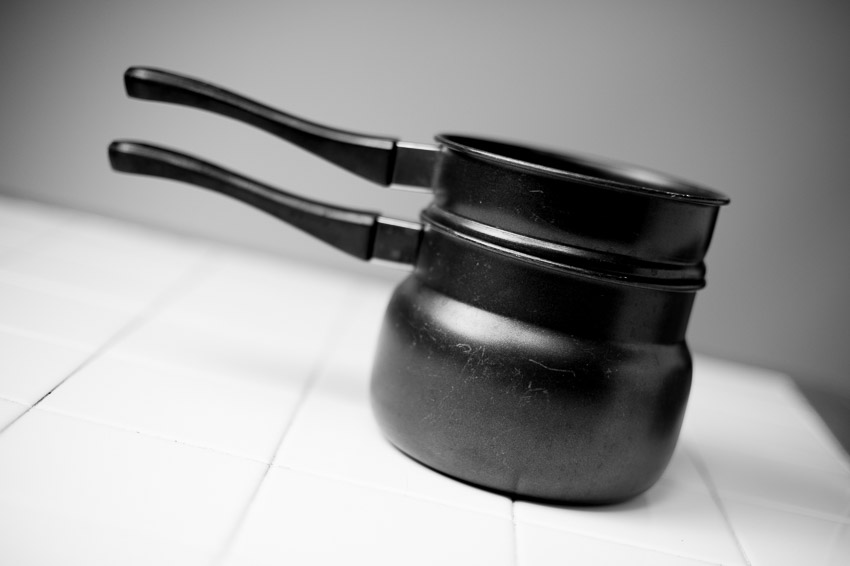
- double boiler
- cooling rack
- big sharp knife
- small thin bladed knife
- big offset metal spatula (link)
- small offset metal spatula (link)
- teflon spatula
- plastic squeeze bottle with 1/3″ of the tip cut off
- 10″ cardboard cake round (link)
GET ALL THE CRUST AND BATTER INGREDIENTS PREPPED UP…
…and ready to go before you start the mixing process.
Everything prepared, lined up and ready to go.
Line up things in the order you plan to use them.
Make sure all the ingredients for the batter are at room temperature…
It’ll make life so much easier.
PREP THE 9″ TWO-PIECE FAT DADDIO CHEESECAKE PAN
Put the pan together, then Baker’s Joy the whole interior.
Lay a 9″ parchment paper circle in the bottom of the pan; Baker’s Joy that, too.
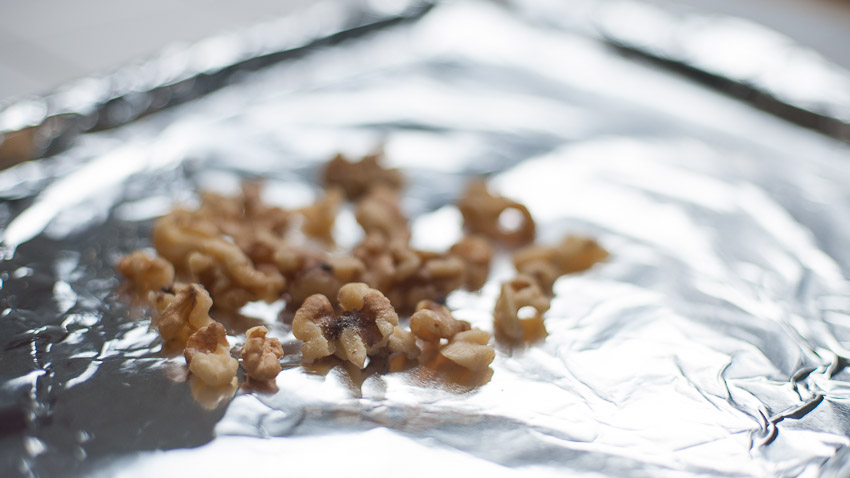
TOAST THE WALNUTS
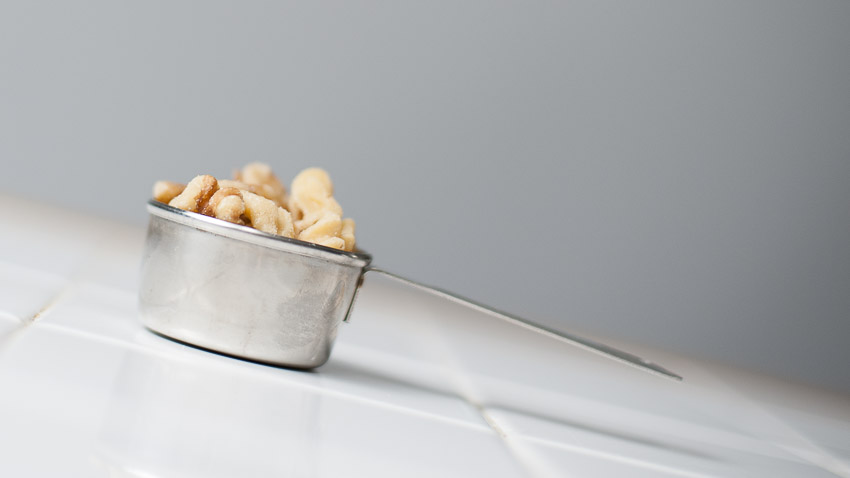
Aluminum foil the cookie sheet, get the oven stabilized at 350.
Toast ’em whole, we’ll deal with them later.
Go 5-7 minutes, but check them at the 4-5 minute mark; we don’t want them to burn.
GRATE THE CINNAMON
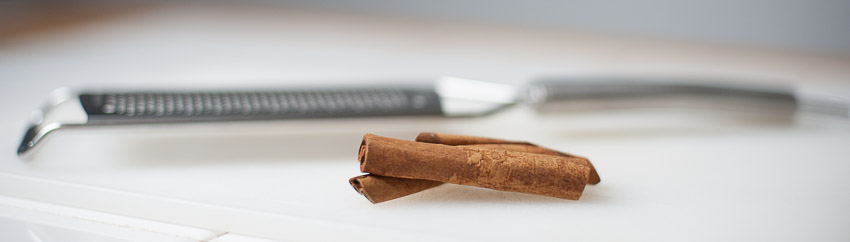
Strictly up to you, much easier to scoop a half teaspoon out of the store-bought, but consider this:
Anytime you freshly grate cinnamon, nutmeg, etc., it’s going to elevate the recipe.
The flavor is going to pop, far more than pre-ground stuff that’s been sitting in a jar on a shelf for who-knows-how-long.
A little bit of extra time, a little bit of extra effort, will put you in a category of your own at the dessert table.
I grate the cinnamon through a Micro Planar onto a large file card so I can just pick it up, bow the card between my fingers so the spice gathers in the middle, and pour directly into the measuring spoon.
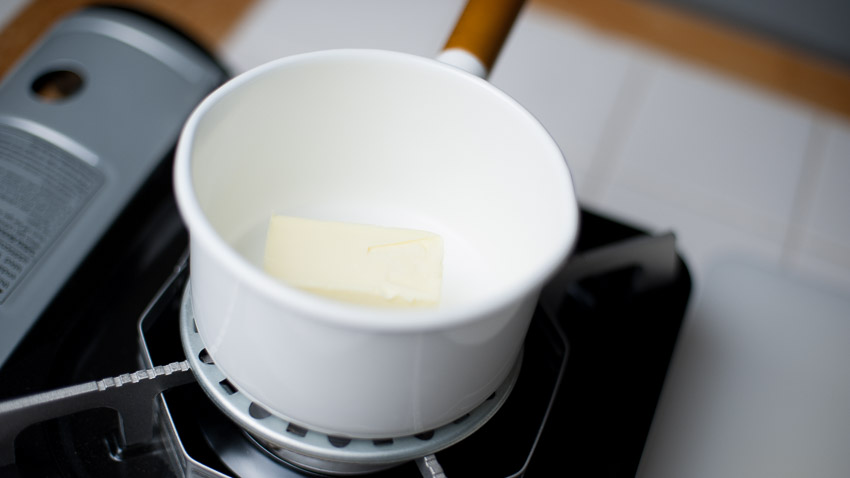
MELT THE BUTTER
Gently!
FOOD PROCESS THE GINGER SNAPS AND WALNUTS
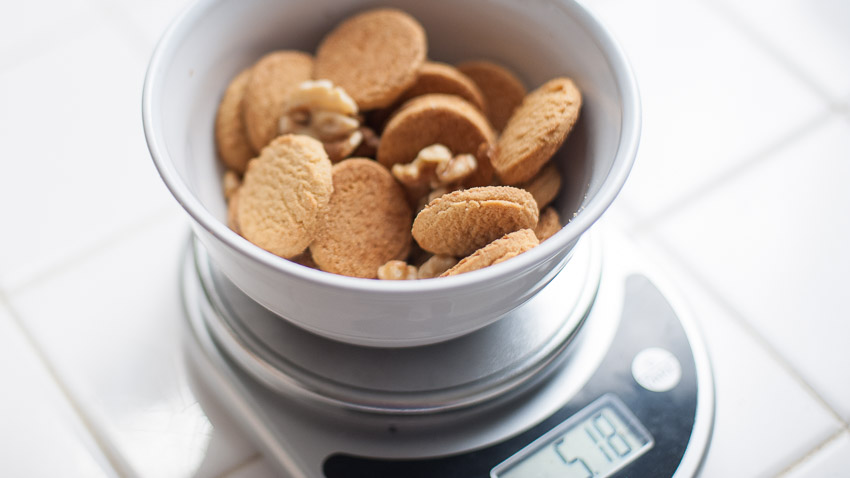
Whirl ’em up medium-fine.
However, if you want to leave some larger chunks her and there, by all means: love that burst of flavor from gingersnaps.
MIX THE CRUST
Combine the ginger snaps, walnuts, cinnamon, and sugar in a large mixing bowl.
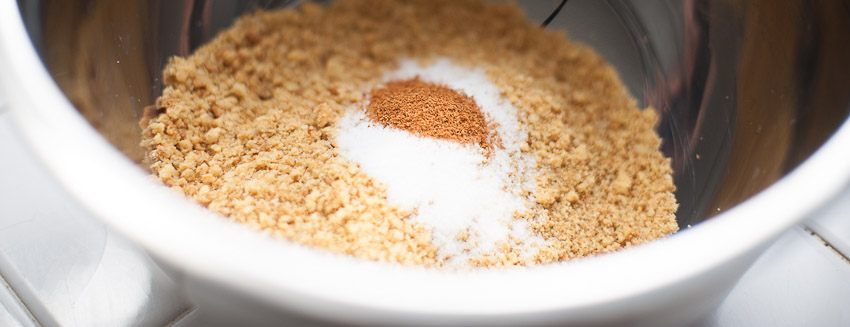
Add the melted butter sparingly while tossing the mixture with your fingers.
Add the butter until the mix is moist.
Don’t add so much that everything becomes soggy, if you don’t use all the butter that’s OK.
FORM THE CRUST
Dump the mixture into the middle of the pan and spread it around evenly with the backs of your fingers.
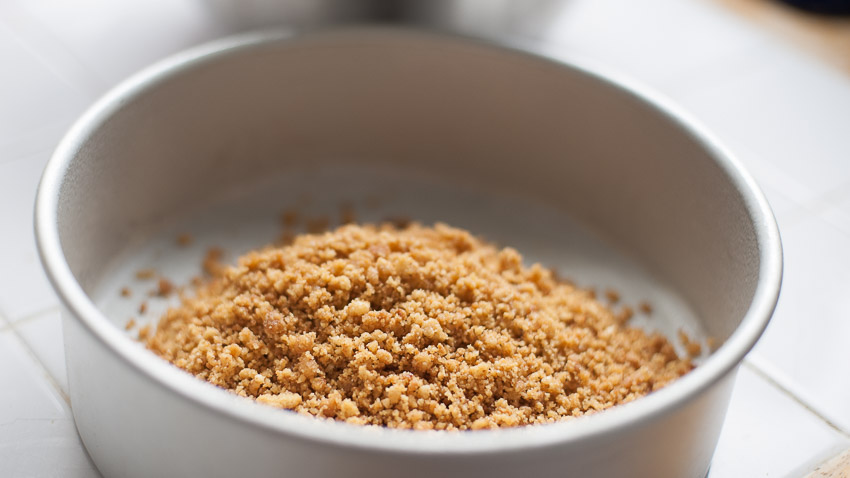
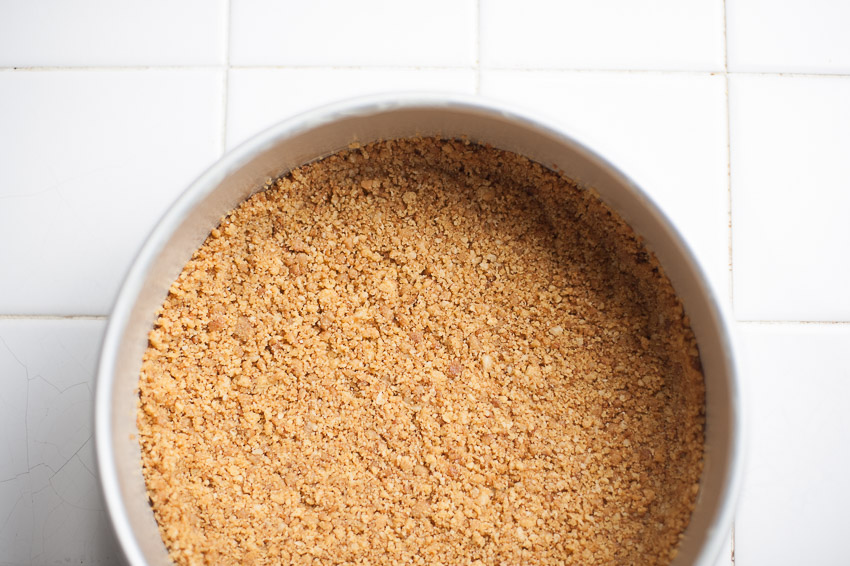
The mix should be enough to cover the bottom of the pan; we’re not going up the sides.
Normally we don’t want to press the crust too tight, but with this cheesecake, with these batter ingredients (the caramel might bleed a bit while baking) we want to tamp everything down firmly with the bottom of a glass.
Sooooo…..
While we’re on the subject of crust, here’s a couple MAX recipes:
PREP THE DULCE DE LECHE
Heat the dulce de leche in the double boiler to get it nice and soft.
We want to be able to distribute the caramel evenly, so stir it occasionally while it’s heating.
You know, while you’re trying to do fifteen other things at the same time.
We don’t want it hot or boiling; just nice and loose.
PUT THE BATTER TOGETHER
To start, beat the cream cheese and sugar low speed until smooth. If you’ve still got some small chunks don’t worry about it, we’ll strain the batter later.
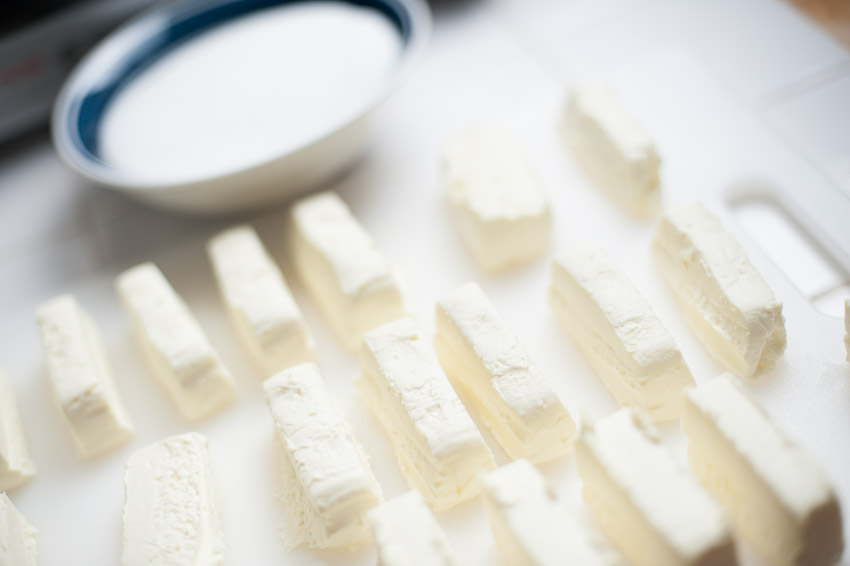
The main thing is to keep the mixer time to a minimum, and not beat too much air into the batter.
Cracks.
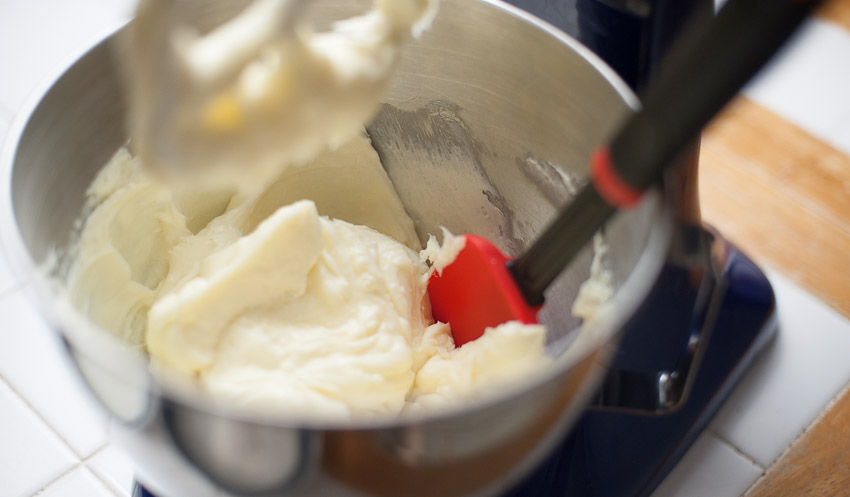
As necessary, stop the mixer and spatula the mixture from the walls and the paddle. Do this throughout the mixing.
Beat in milk, flour, pinch of salt and vanilla, just combining each.
Don’t overbeat!
Add the lightly beaten eggs, and mix only until the yellow streaks disappear.
STRAIN THE BATTER
Even if all the ingredients are at room temperature, you may get little lumps of Philly in the batter.
Time to strain.
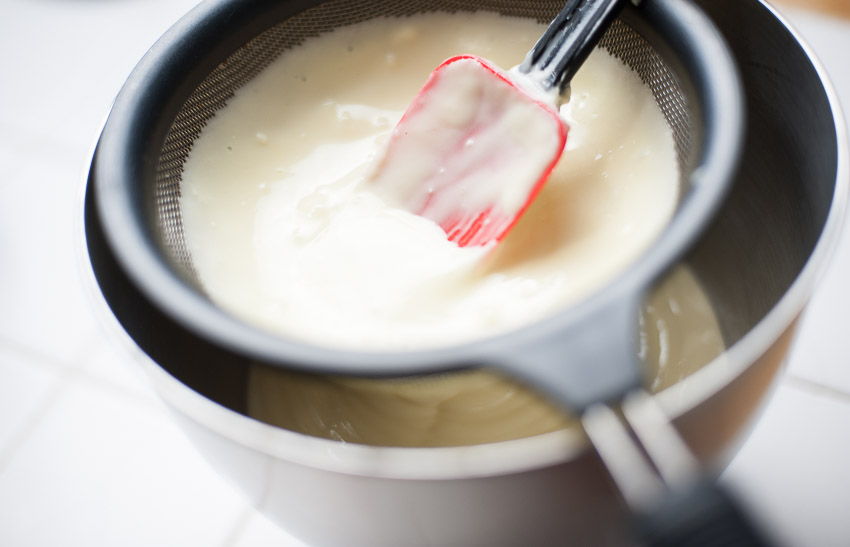
Press the batter through with the spatula, then lift up the strainer and get all the batter clinging to the underside.
Pour the batter on top of the crust.
SWIRL THE DULCE DE LECHE
The caramel should be swirled through the cheesecake…
The best way to do this is distribute blobs around the batter…
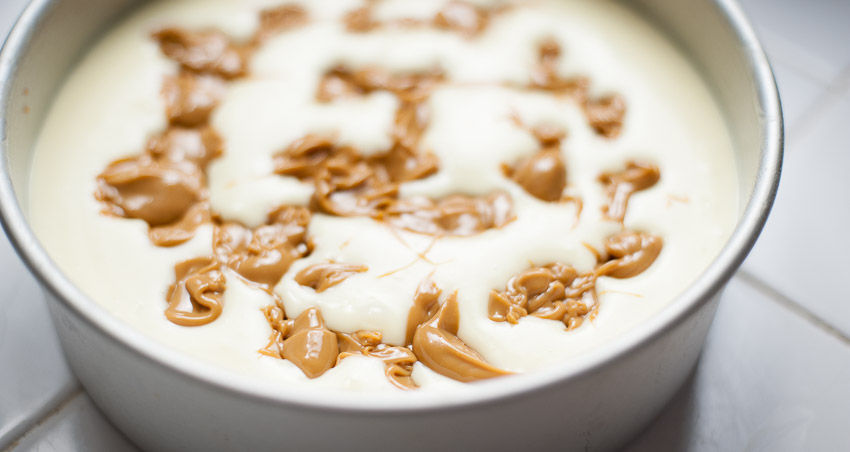
Then draw the tip of a chopstick through the lumps, pulling them in strings through the batter.
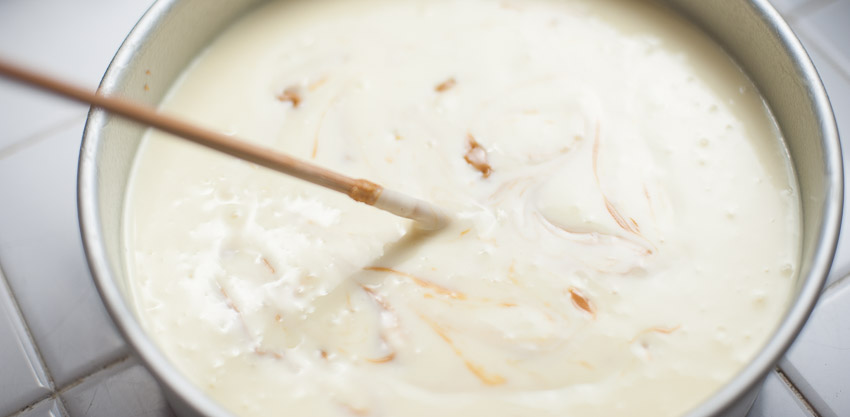
Get them submerged, too…
TIME FOR THE CHEESECAKE MOAT
We’ll use a work-around for the water bath.
Here’s the deal with a traditional waterbath…you wrap your pan in 2-3 layers of heavy duty aluminum foil (al…you…min…ee…yum foil if you’re in Britain).
Then you nestle the pan, with $20+ worth of ingredients, in a roasting pan with two inches of water in it.
Nestle it right in there.
Sounds risky, right?
You bet!
A waterbath does several things:
- allows the edges of the cheesecake and the center to bake at the same rate
- the moist steamy heat keeps the texture creamy
- stops surface cracking
Now we want these things, so we’re always on the hunt for other ways to do this.
Here’s some ideas:
- low temperature baking
- flour added
- cornstarch added
- waterproof silicone sleeve for the cheesecake pan
We’re exploring all these alternatives, but for the dulce de leche cheesecake we’re going to use another piece of equipment, the cheesecake moat.

The cheesecake pan sits in the the inner area, the outer ring is filled with hot water.
Soooooo…while you’re doing all the other things, put some water on the stove and bring it close to the boil.
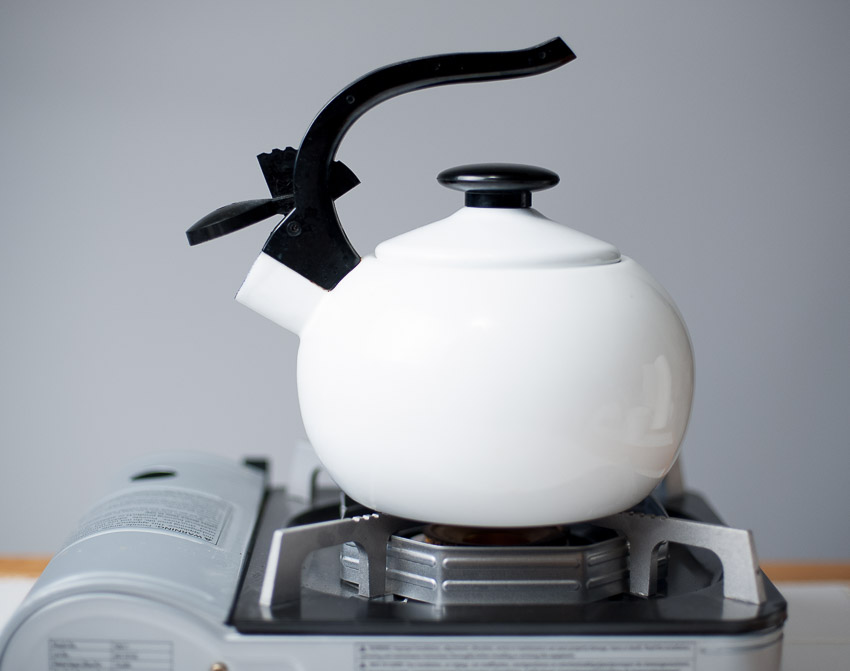
So when you’re actually mixing the batter, you’ve got dulce de leche warming up in the double boiler, and water heating up on the stove.
LET’S GET TO BAKIN’
Put the finished batter in the middle of the cheesecake moat, pull the center oven rack halfway out and place the moat and cheesecake in the center of the rack.
Using a large funnel, pour the hot water into the outer ring of the moat.
Carefully and slowly slide the rack into the 350 oven and close the door.
Don’t spill hot water on yourself!!!
HOW LONG TO BAKE?
The Taste of Home recipe says 60-70 minutes.
But that’s using a waterbath, and we’re technically not doing that.
With a waterbath, the water comes right up against the sides of the cheesecake pan.
This keeps the temperature down around the outside edge of the pan, lengthening the baking time.
You know, the moderating effects of large bodies of water.
It’s why the farm areas around London Ontario can have peach trees growing.
With the moat, hot oven air can still get in around the sides of the pan, soooooo…
…the cheesecake will bake faster.
If you’re figuring from a recipe that uses a waterbath, you must take this factor into account, and start checking for doneness way early, before the recommended times.
With the dulce de leche, I actually started looking at it around 45 minutes.
I checked again at 50 and 55 minutes, and wound up going 2 minutes more from the 55 minute mark, bringing it to 57 minutes.
You want the edges to be set, and a sort of wobble in the center.
It’s OK if the edges are starting to brown, but you don’t want them to burn.
And the cheesecake will continue to cook after taking it out of the oven, so that wobble will straighten itself out.
PLACE THE CHEESECAKE ON A COOLING RACK
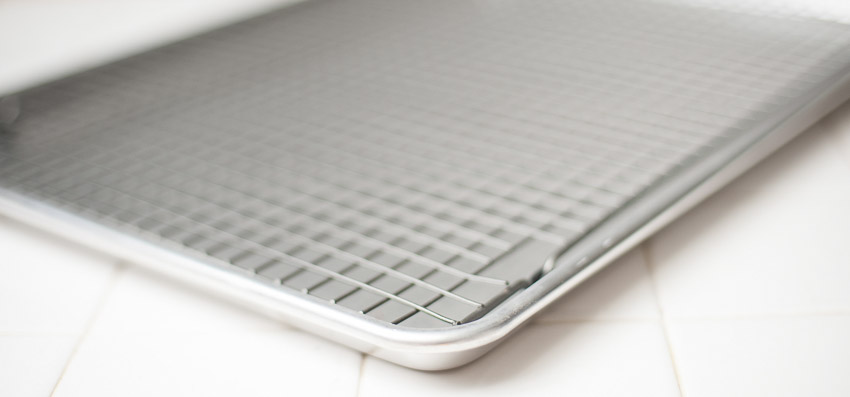
…and immediately run a thin sharp knife around between the pan and the cheesecake, releasing the cheesecake.
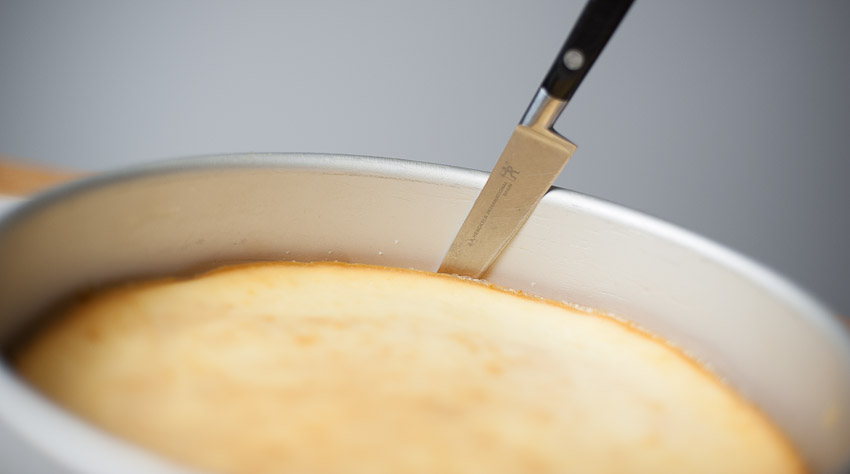
That way the cheesecake will not stick to the sides of the pan as it cools and shrinks.
Crack prevention.
COOLING THE CHEESECAKE
Let the cheesecake cool, uncovered, until it reaches room temperature.
This may take awhile but be patient, it will be worth it.
Oh yeah, and keep it out of drafts!
More crack prevention.
Cover the setup loosely with aluminum foil and into the refrigerator overnight.
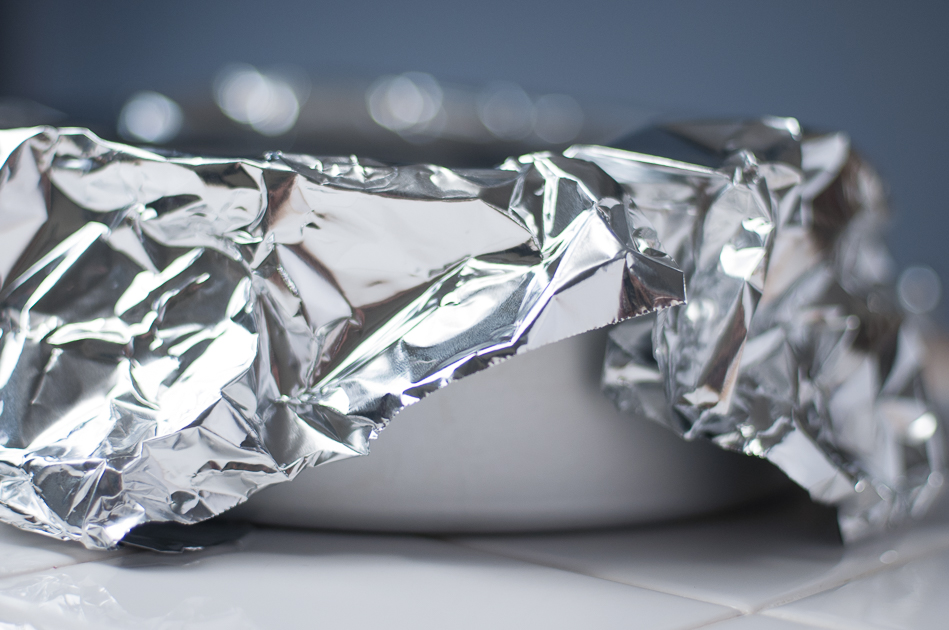
THE BIG REVEAL
The next day:
Remove the aluminum foil…
Invert a small/medium size mixing bowl, and place the cheesecake setup on top.
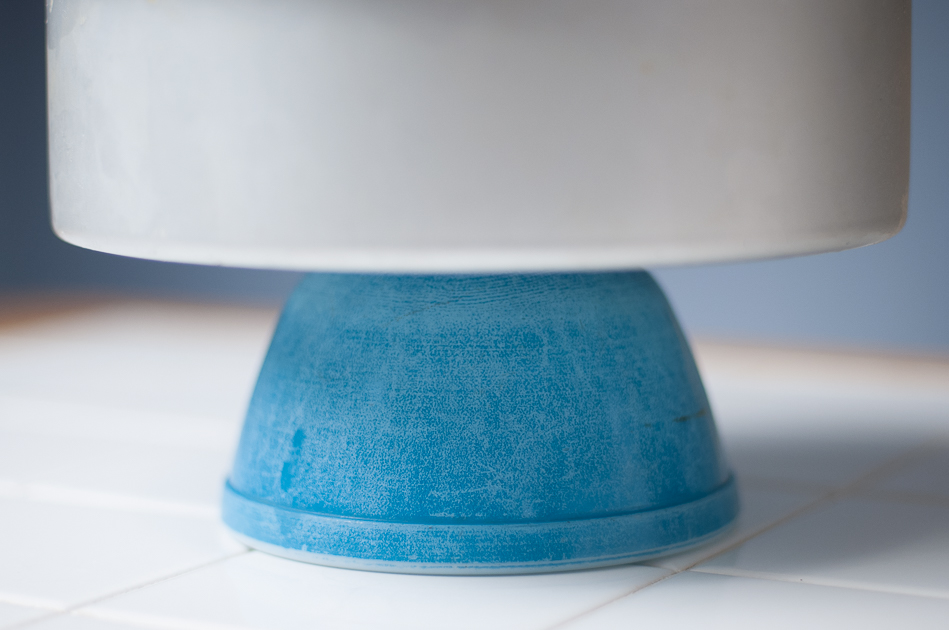
Drum roll please….
Working carefully around the edges, gently press down until the cheesecake pan is released from the cheesecake. The pan will drop to the tabletop.
It’s….ALIVE!!!
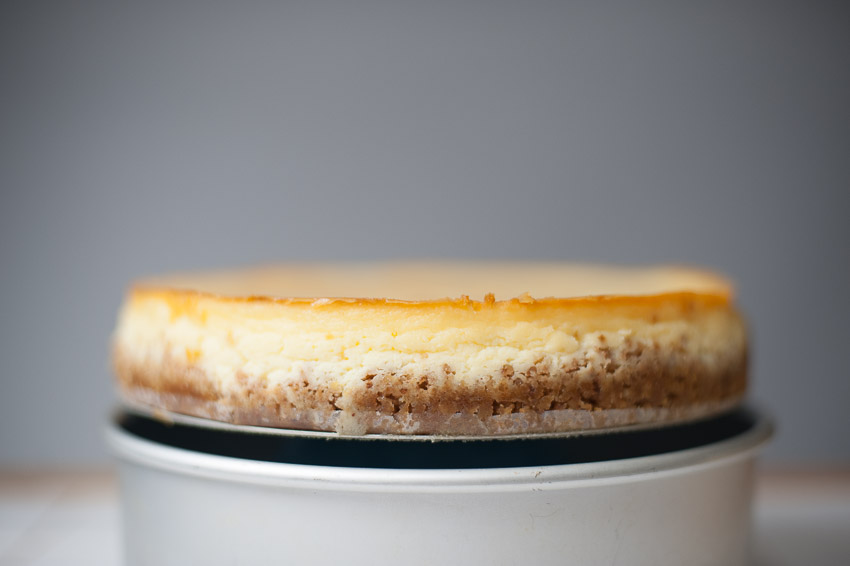
CARDBOARD ROUND TIME
We need to accomplish two things:
We need to get the cheesecake onto a 10″ cardboard round, and we need to get the parchment paper and metal disc out from underneath it.
Put the cheesecake on the cardboard round. The whole thing’s going to move around while we’re doing this so it doesn’t have to be centered.
Insert a large offset spatula between the bottom of the crust and the parchment paper.
Gently!
Work the spatula around underneath the cheesecake, following the outside edge of the crust.
Do this until you feel things loosen up, and you can raise the cheesecake just a little and slide the parchment paper and the metal disc out from under.
Make sure you bring the paper with the disc, both at the same time.
And again, do this gently, and don’t raise the cheesecake too high; we don’t want to break it’s back.
Now center it on the cardboard round.
Or, if you’re feeling spiffy, you can:
Put the cheesecake next to the cardboard round, not on it, work the spatula around underneath, and slide the cheesecake over to the cardboard round, leaving the paper and metal disc behind.
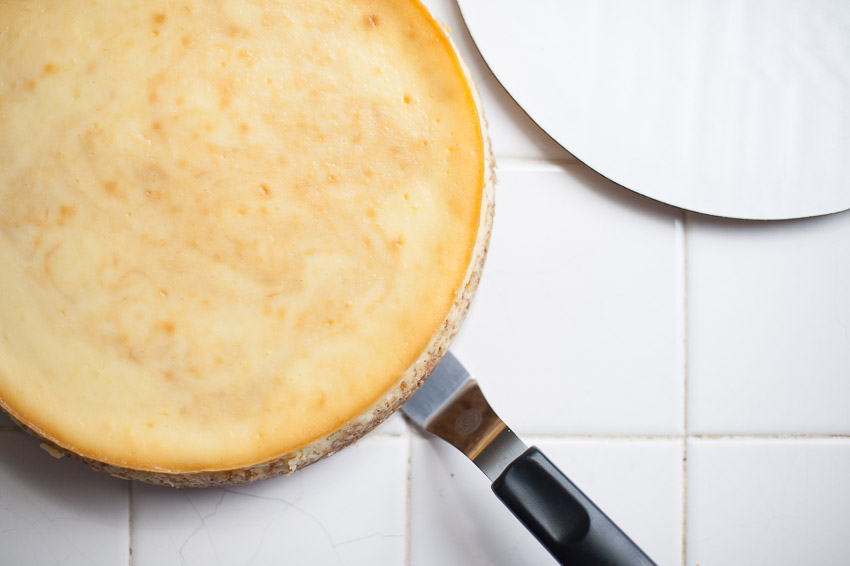
Your choice…
PREP TOPPING NUMBER ONE
Time for the double boiler again…
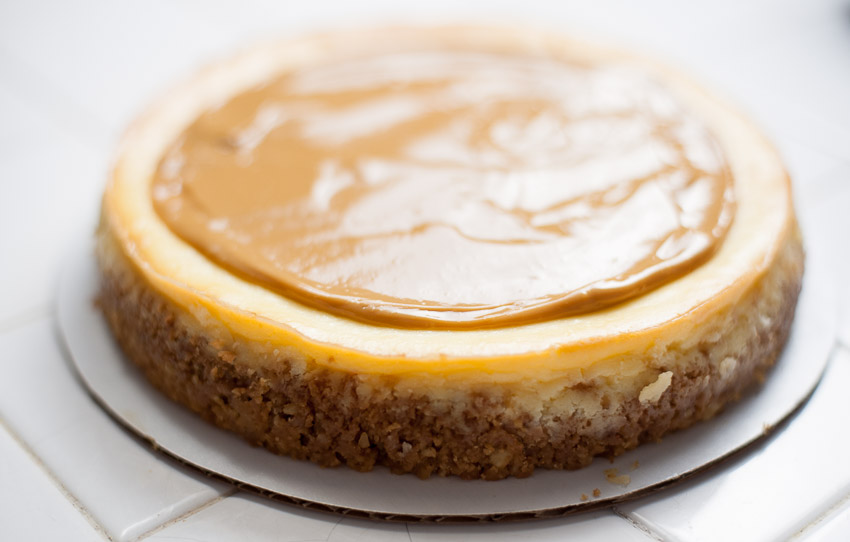
For this dulce de leche topping we want the caramel to spread easily around the top of the cheesecake, so we need to reduce it’s viscosity.
There’s a term, right?
Put the half cup of caramel into the double boiler with a tablespoon of water for starters.
Stir the caramel as it heats and sparingly add more water until it just flows: we want it to spread easily on top of the cheesecake but harden as it cools.
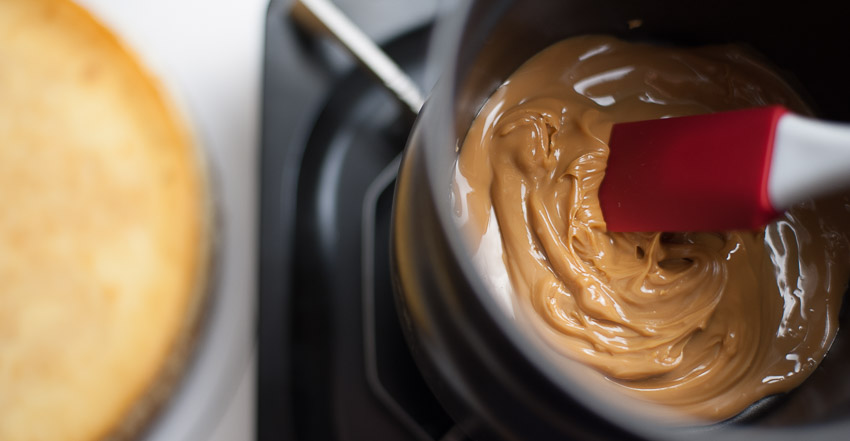
Like this:
MAKE THE CHOCOLATE GANACHE
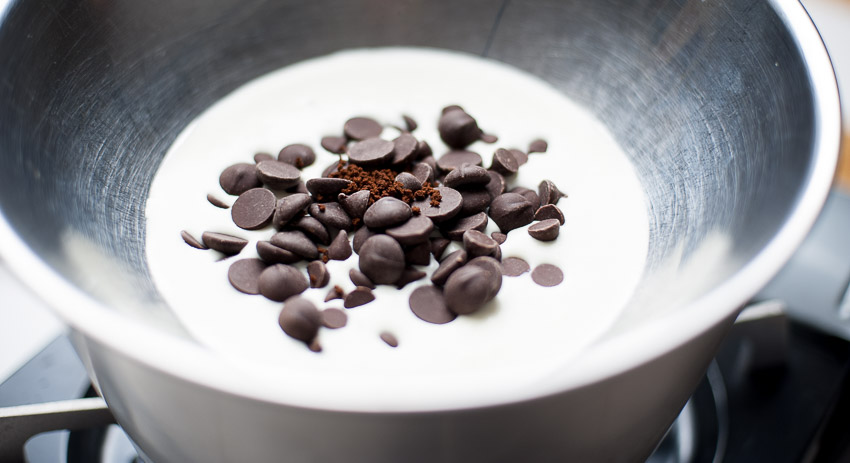
While the caramel topping is cooling…
Put the chocolate, heavy cream, and espresso powder in the top of the double boiler.
Let everything heat up a bit, then start stirring now and then as the chocolate melts.
You’ll know when it’s ganache.
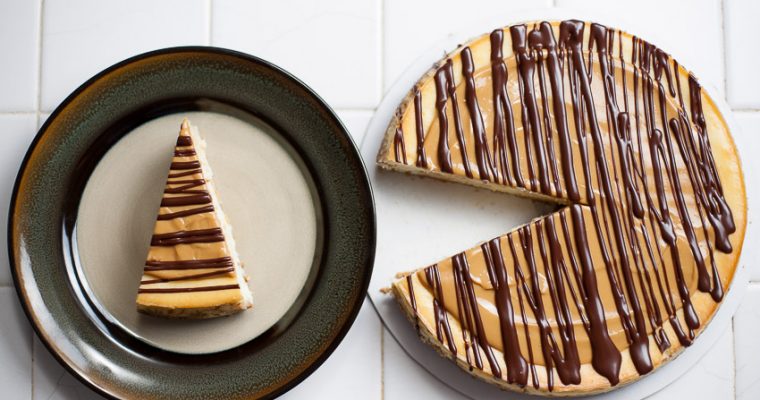
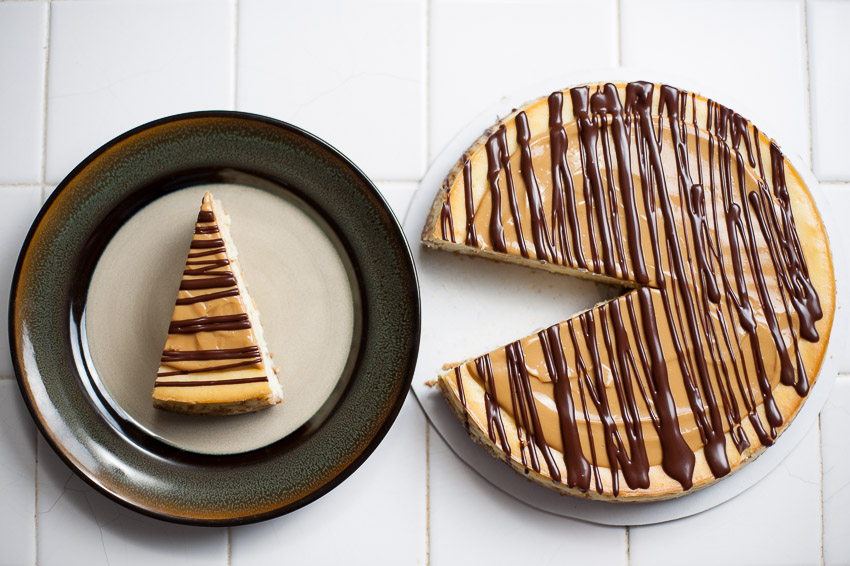
JACKSON POLLOCK THE TOP
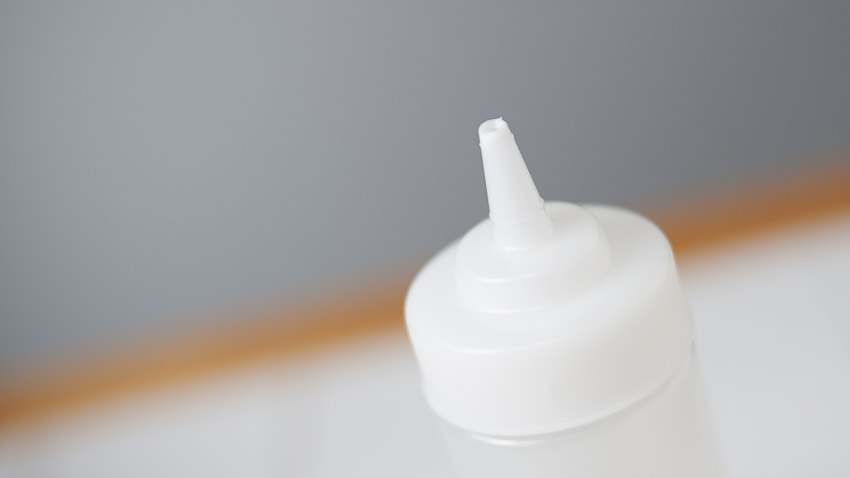
You can do this with a spoon if you want, but the lines will be more controllable if you use one of those generic soft plastic sauce bottles from the grocery store.
Be sure to cut the tip off about a third of an inch down from the top.
Best to let the ganache cool a bit; let it cool until the chocolate lines hold together and don’t run all over the place. Test on a piece of paper until it cools enough.
As you can see from the picture below, I probably should have followed my own advice.
Go back and forth across the top of the cheesecake, until you’re satisfied with the result.
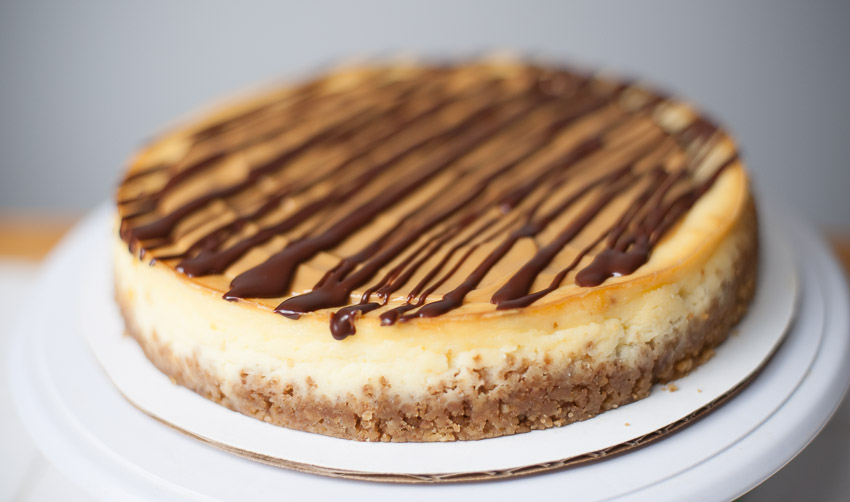
Success!
SERVING THE CHEESECAKE
Cheesecake tastes best, has the most WOW flavor, at room temperature. Let the cheesecake sit or cut the slices first and let them sit; they’ll come to room temperature faster than the whole cake.
Cut slices with a big sharp knife, wiping the blade after every single cut.
I don’t know about you, but I might pop a little confectioners sugar on top…

ENJOY…
…with strong coffee, espresso, ice cold water, hot ginger tea, cold Fever Tree ginger beer, tawny port, Alsatian gewürztraminer, sweet riesling, late harvest riesling, gently warmed Tia Maria, or an azucar.
Relax with a paragraph or two from Cormac McCarthy’s book All the Pretty Horses…
maybe the passage where a thunderstruck young man sees, for the first time, his one true love.
You see?
Excellence all around!

LINKS:
The Cheesecake Moat …hassle-free waterbath pan
Fat Daddio’s cheesecake pans (choose 9×3) ….the best pro cheesecake pan you’ll ever own
What To Drink With What You Eat