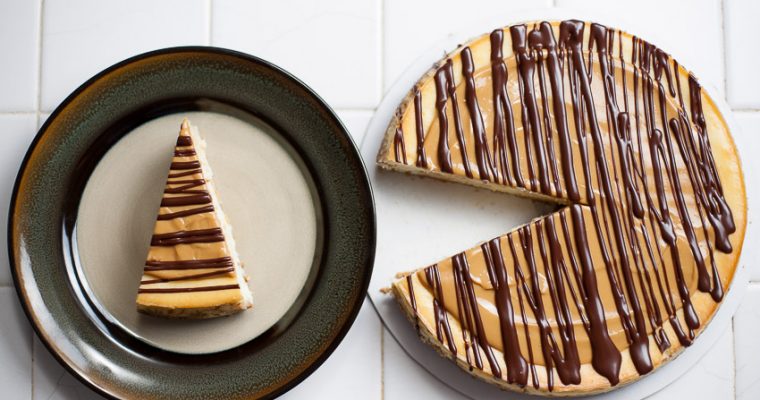

Our starting point for the Chocolate to the 4th Power Cheesecake is the Chocolate Truffle Cheesecake recipe.
I found that recipe listed in two sources: Southern Living and myrecipes.com. Let’s take the recipe and intensify the chocolate flavors as we go along, add more ganache, and garnish with a classic pairing….cherry.
The added layer of ganache on top elevates this cheesecake to ultimate chocolate overload. As it goes toward room temperature it starts out like a chocolate pate and ends with the consistency of chocolate mousse.
Operative flavors: Chocolate, almond, cherry
This another no-water bath/no springform pan cheesecake. We’re baking low and slow (300F) so we don’t have to worry about cracks. Look around, you’ll see most cheesecake recipes are 350F. Crack city.
We’re going to make ganache three times in this recipe. Sounds like a lot of work, doesn’t it? But it’s really easy (we’re not going to fling boiling cream on anything) and think about this: when you’re done you’ll really know how to make ganache!
As always, this post will be heavy on technique and flavor MAXimization for those learning to make cheesecake. All the steps will be boiled down at the end for folks who already have cheesecake technique firmly under control. Those folks can just scroll all the way down or go directly to the recipe card… https://cheesecakemax.com/recipe-card-chocolate-to-the-4th-power-cheesecake/
Or, if you want something visual, the YouTube video
Equipment List
gallon zip plastic bag
rolling pin
oven thermometer
half hotel pan or standard cookie sheet pan
9” Fat Daddio two piece cheesecake pan
parchment paper
aluminum foil
digital scale
Baker’s Joy
measuring spoons
Pyrex custard cups and small bowls
stand mixer with bowl
paddle attachment
double boiler
cooling rack
big sharp knife
offset spatula
teflon spatula
plastic squeeze bottle with 1/3-inch of the tip cut off
plastic funnel
10″ cardboard cake round
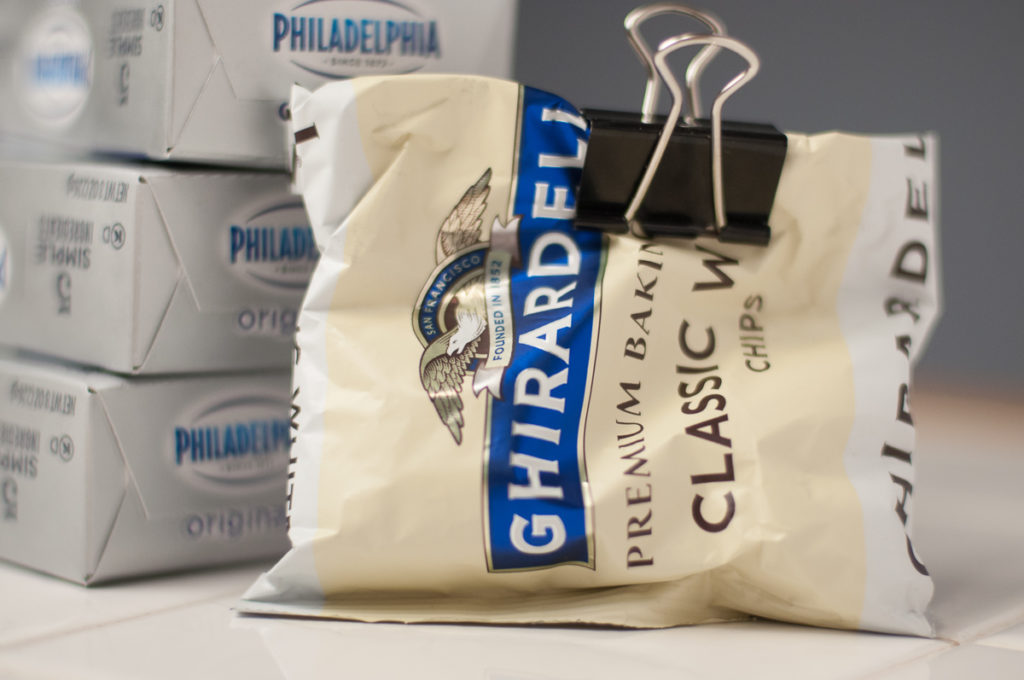
Ingredients
Crust
3/4 pkg Nabisco chocolate wafer cookies…OR…1 store-bought Oreo cookie crust
1/2 stick unsalted butter
1/8 teaspoon almond extract
Batter (Including 1st ganache)
8 oz good quality semisweet chocolate baking chips (like Ghirardelli). (For a deeper chocolate flavor do half semisweet/half bittersweet or maybe 6 oz semisweet and 2 oz bittersweet).
1 cup heavy whipping cream
1/2 teaspoon instant espresso powder (Cafe Bustelo)
4 bricks Philly
1 can sweetened condensed milk (14 oz)
4 eggs
2 teaspoons vanilla extract
Pinch of salt
Chocolate ganache for top layer (2nd Ganache)
4 oz semisweet chocolate chips
4 oz bittersweet chocolate chips
1 cup heavy whipping cream
1/2 teaspoon instant espresso powder
White chocolate ganache (3rd ganache)
6 oz white chocolate chips (definitely Ghirardelli)
1/4 cup heavy whipping cream
Topping
1 jar Bonne Maman cherry preserves (13 oz).
( We’ve been searching for a cherry sauce recipe but this will be excellent in the meantime. If you have a recipe you’d like to share email us, max@cheesecakemax.com)
Crust Prep
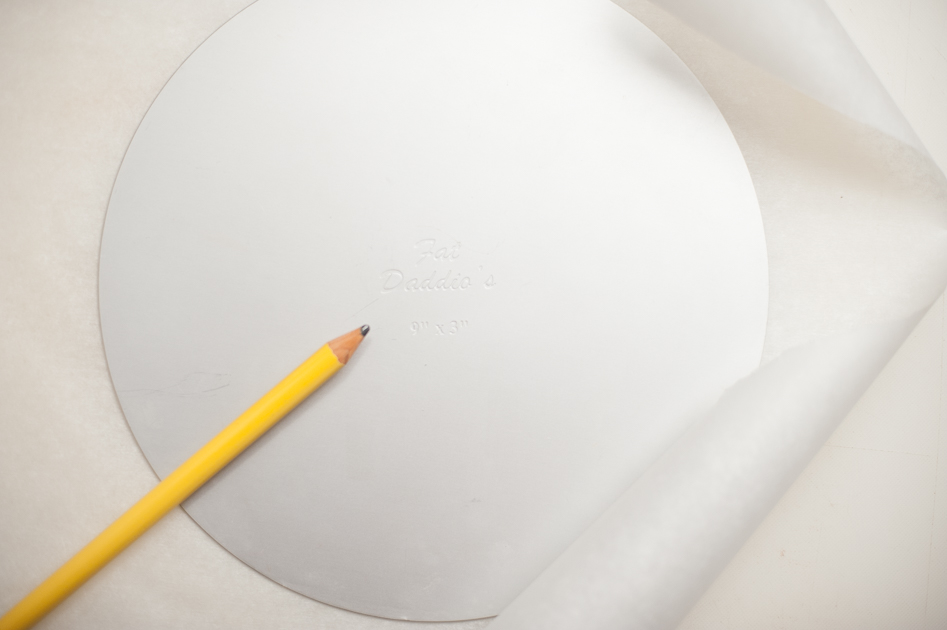
Prepare the Fat Daddio
Lay the pan bottom on parchment paper and run a pencil around the edge, then cut out the circle. Put the pan together and dust all the inside with Bakers Joy, lay the parchment on the bottom and dust the paper.
Do the crust according to the MAX philosophy
–the crust will be flat, we’re not going up the side….
–melt the butter but don’t necessarily use it all
–gently pat the crumbs into place with the backs of the fingers.
A word from Mom…
This is Mom’s crust philosophy…she explained it to us kids one day during a long afternoon of baking: You don’t want the crust too hard, too tamped-down. Some folks use the bottom of a glass and that makes it tough and dry. And don’t use too much butter or it’ll be like concrete. But Mom, my sister asked…won’t there be a lot of crumbs floating around on the plate? Perhaps, Mom told her, but not enough to make a difference…and if people object to a few crumbs then you’re hanging around with the wrong people…
Making the crust
Gently warm the butter in a saucepan, while it’s melting throw in the almond extract and swirl the pan a little.
Crumb the chocolate wafers in a food processor or put them in a one-gallon zipper bag and flatten them out with a rolling pin.
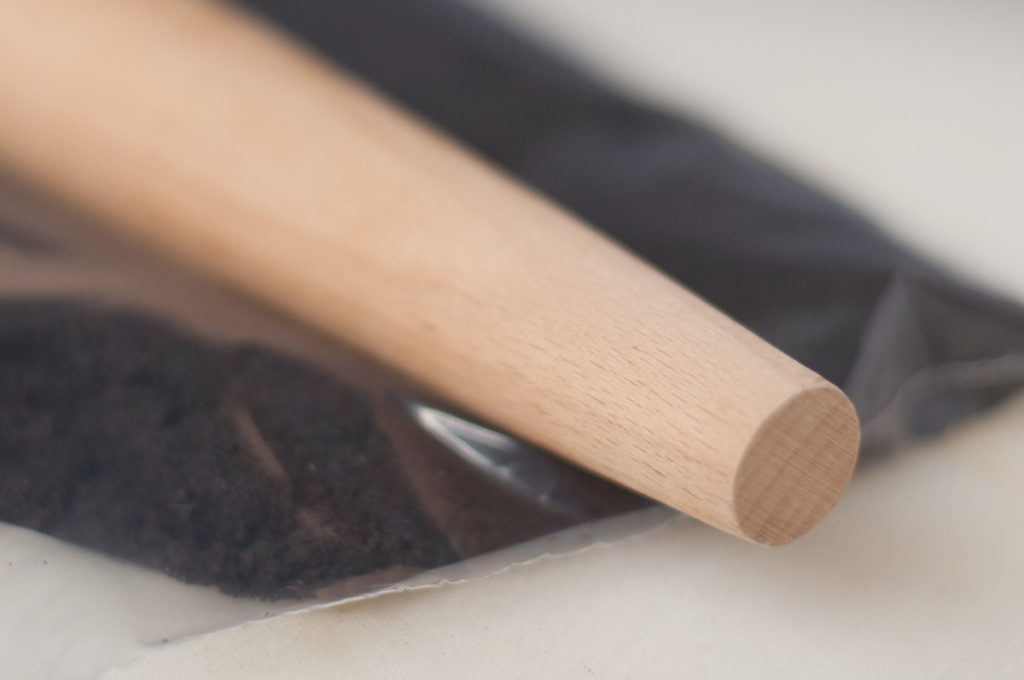
Put the crumbs in a large mixing bowl and add the melted butter sparingly, sifting with the fingers until the crumbs are moist but not soggy. Do not necessarily use all the butter.
Dump them in the center of the pan.
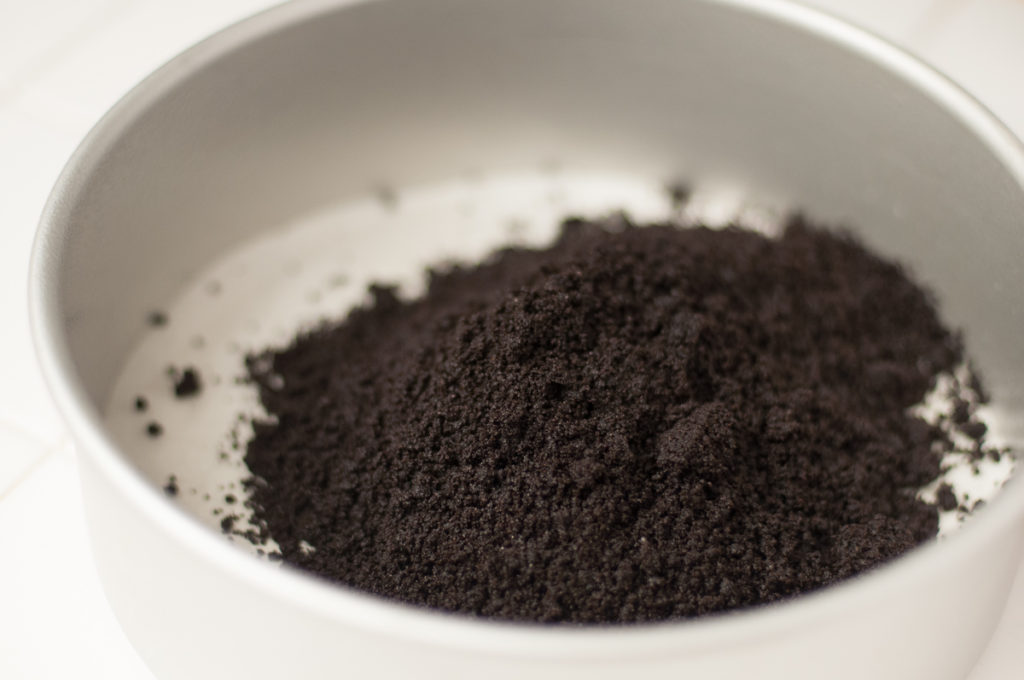
Gently pat into place using the backs of the fingers.
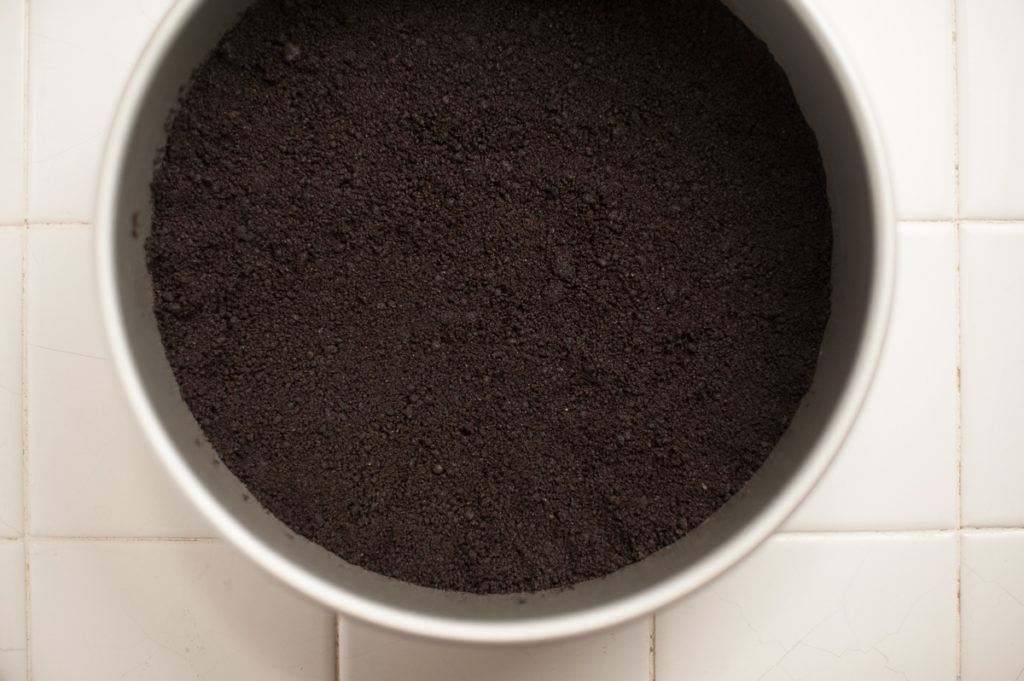
Or…if you can’t find chocolate wafer cookies:
Unbox a pre-made Oreo pie crust into a large mixing bowl.
Break it up with a wire whisk; whisk until the chunks are gone.
Add the melted butter and almond extract very sparingly, etc. etc.
Building the batter
The filling ingredients should all be at room temperature, the eggs…everything.
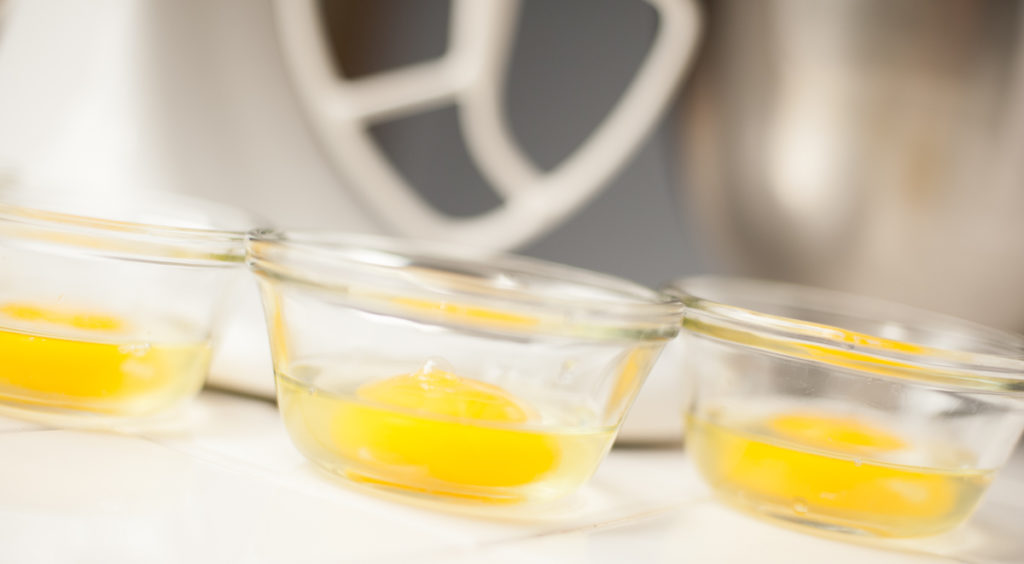
Use Pyrex custard cups for the eggs and the vanilla and put the whipping cream and condensed milk into small shallow bowls so they’ll slide easily.
Combine the condensed milk and vanilla and let it sit.
Making the 1st ganache (for the batter)
In the top of a double boiler combine the heavy cream, espresso, and chocolate. Gently heat, stirring occasionally with a thin wooden spoon or teflon spatula until it’s ganache.
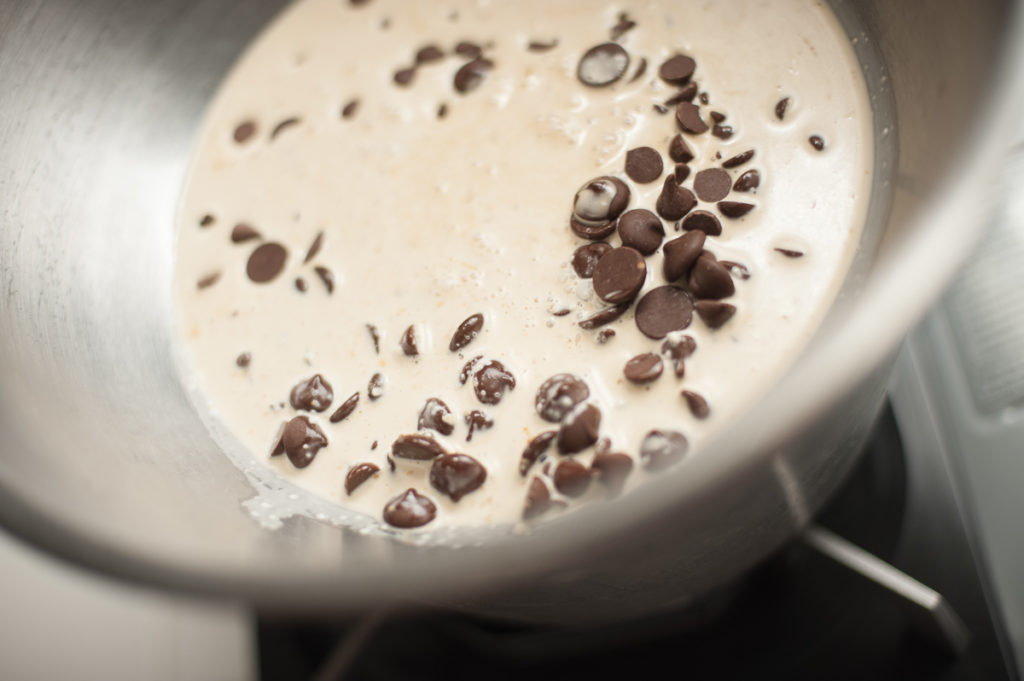
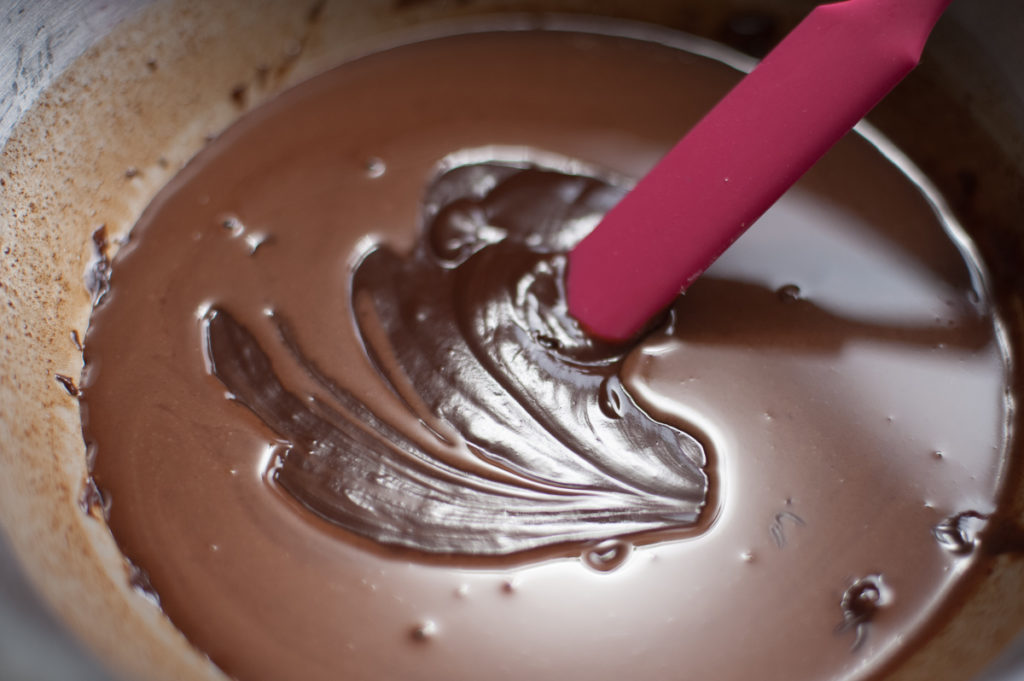
You’ll know when it’s ganache.
Remove from the heat.
Mixing the batter
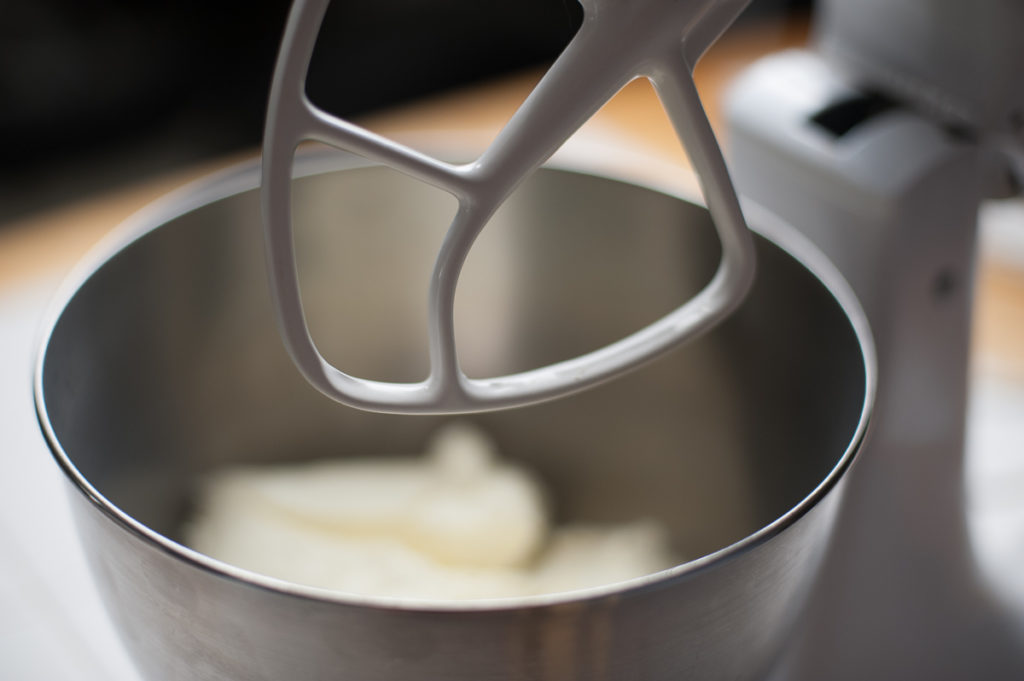
Beat the cream cheese on low until smooth, a couple of minutes or as needed. Don’t incorporate air!
Add the condensed milk and vanilla; just incorporate.
Spatula down the beater and the sides of the bowl.
Add the eggs one at a time and just incorporate after each.
Add pinch of salt
Spatula in the chocolate ganache, just incorporate until no streaks.
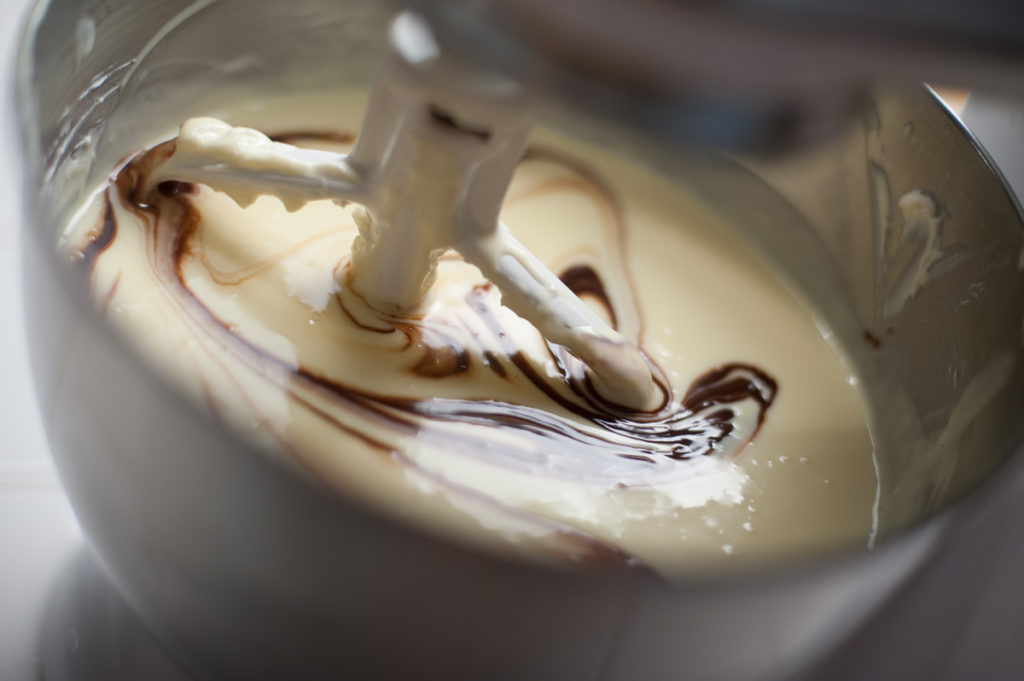
Spatula down the paddle attachment and the sides of the bowl, mix a little bit more with the spatula. Make sure everything’s incorporated.
Pouring the batter over the crust
Put the batter through a medium-mesh strainer over the crust. This batter is liquid enough to go through without using the spatula: leave any chunks of cream cheese in the strainer and discard.
Baking and crack prevention
So….on to a sheet pan and then to the center rack, stabilized at 300F. Make sure the sheet pan isn’t warped, you want the cheesecake to be level as it bakes. One time I used a double bottom cookie pan and it warped while baking…the cheesecake was ‘way higher on one side. Not cool.
The low temperature will help prevent cracks. Most recipes I’ve seen bake at 350; recipes without waterbath are usually 325 or even 300.
Realizing that there differing approaches to crack prevention, let’s open it up for feedback. Any crack prevention insight is welcome, please email me: max@cheesecakemax.com
It’s important to always use an oven thermometer standing on the center rack as you heat the oven. Do not rely on the oven’s temperature readings. I use a back-in-the-day oven that can be as much as 50 degrees off.
Bake for 65 minutes. Turn oven off and keep the door closed for another 30 minutes.
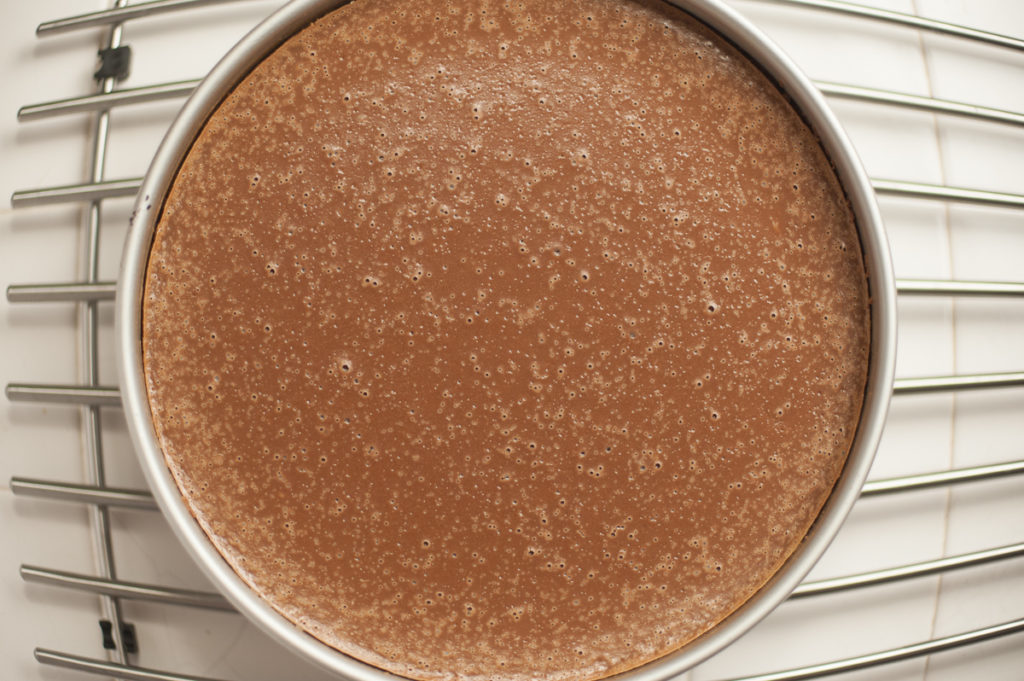
As soon as it comes out of the oven
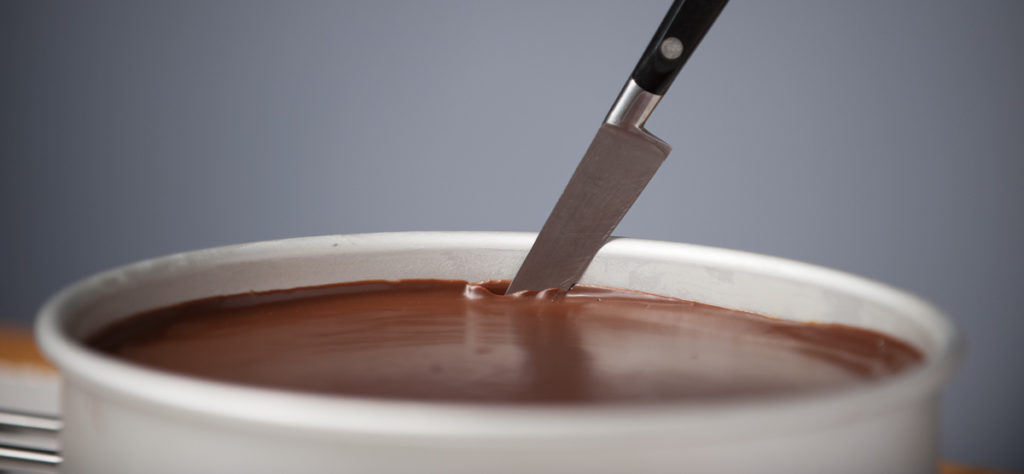
Take the setup out of the oven, take the chocolate to the 4th power cheesecake off the sheet pan and set it on a cooling rack. Immediately run a thin-bladed, sharp knife around the edge of the cheesecake where it meets the pan. This will release the cheesecake from the wall of the pan, so it won’t pull apart as the cheesecake cools and shrinks away from the pan. Crack prevention.
Cooling and chilling
Leave it in the Fat Daddio, leave it on the cooling rack, and let it cool to room temp before putting it in the refrigerator. Clamminess prevention.
While it’s cooling keep it out of drafts: don’t put it under a hood fan or under an AC vent, and don’t move it around. You guessed it, more crack prevention.
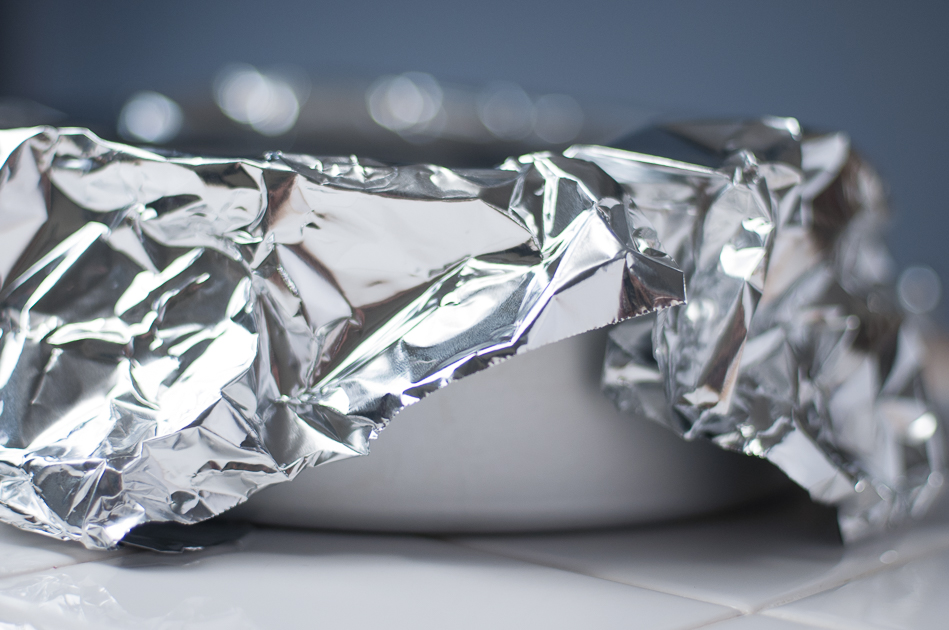
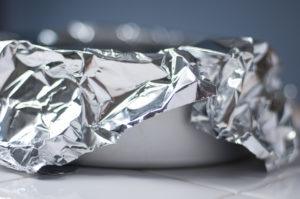
When the cheesecake is at room temperature cover it loosely with aluminum foil and into the refrigerator. The loose foil will allow some air: this prevents moisture buildup which would make the cheesecake soggy.
The Chocolate to the 4th Power cheesecake will be ready tomorrow. It needs to chill overnight for the flavors to come together. Two nights even better.
Making the 2nd ganache (for the top layer)
We’ve made ganache once before; this will be the same thing.
Combine the semisweet/bittersweet chocolate, cream and espresso crystals in the top of a double boiler.
Heat gently. Stir occasionally with a wooden spoon until it’s ganache. That’s right, you’ll know when!
Turn off the heat and leave the bowl on top of the double boiler.
Topping the cheesecake (2nd ganache)
Take the chocolate to the 4th power cheesecake from the refrigerator and remove the foil covering. Don’t throw it away or crumple it up because it’s going right back on there.
Leave the cheesecake in the pan, you’ll be able to see that the cake has pulled away from the edge of the Fat Daddio.
Pour then spatula the ganache directly over the center of the cheesecake. Don’t use any implements to spread it around. Then pick it up and tilt the pan to swirl the ganache all around the top.
Tilt the pan far enough to let the ganache run down between the cheesecake and the wall of the pan. You remember that ride at the county fair?
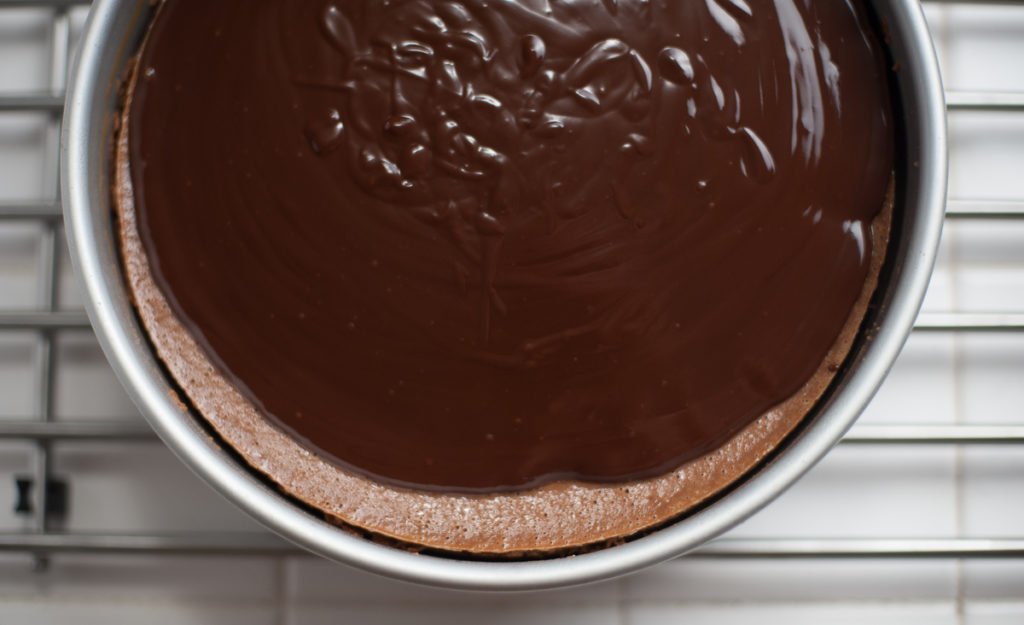
Same motion.
Make sure everything’s nice and even.
Put the aluminum foil back on and into the refrigerator to chill.
Making the 3rd ganache (white chocolate for decorating)
Combine the white chocolate and heavy cream in the top of the double boiler. Make sure the water doesn’t boil.
Stir gently and occasionally until it’s ganache. Yep, you guessed it….
Spatula the ganache through a funnel into the plastic bottle.
Prepping the cheesecake for the white chocolate ganache
Take the chilled chocolate to the 4th power cheesecake from the refrigerator, remove the foil.
Run the thin sharp knife around the edge once more to free the ganache from the sides of the pan.
Place the Fat Daddio on an inverted medium bowl and, working evenly around the edges, gently press the pan down to the counter surface.
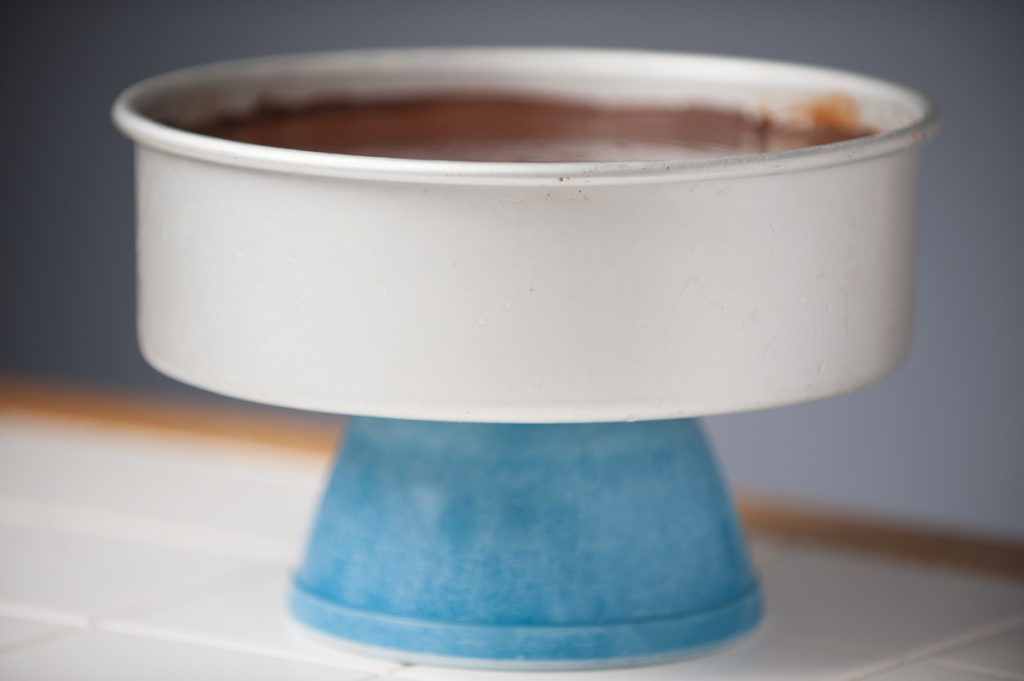
Whoa.
It’s alive!
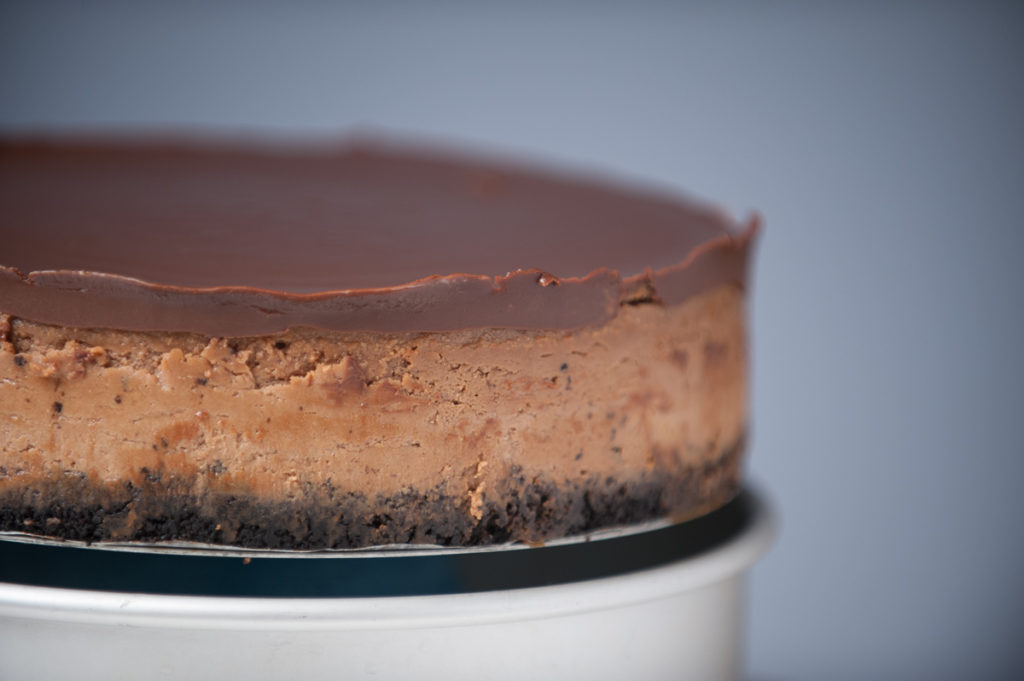
Place the chocolate to the 4th power cheesecake on a ten inch cardboard round and slide an offset spatula between the bottom of the crust and the parchment paper. Gently work the handle around the outside of the cheesecake; you’ll feel the whole thing let go. Slide the paper and pan bottom out from under the cheesecake, leaving the cake sitting on the cardboard round. You can do this now or after the white chocolate ganache step, either way…
Houston, we’re go for white chocolate ganache
Hold the plastic bottle upside down, let the ganache settle toward the tip. It might be a good idea to practice squeezing a uniform line before you hit the cheesecake. (As you can tell from the picture below, I really didn’t do that….)
Put the cheesecake on a generous spread of paper towels.
Work back and forth across the top of the cheesecake, laying down a uniform line. Start on the paper towel, cross the cheesecake and go past it onto the paper towel.
Put the finished cheesecake back into the fridge to set the white chocolate ganache.
I used to do straight lines that got closer together toward one side of the cheesecake. This was an impressive effect but it was ‘way too nerve wracking.
Now I do the Jackson Pollock thing.

It’s much easier on my constitution…..
Serving
Cheesecake tastes best, has the most WOW flavor, at room temperature. Let the cheesecake sit or cut the slices first and let them sit; they’ll come to room temperature faster than the whole cake.
When you let the slices get to room temperature before serving the filling will take on the texture of chocolate mousse.
As Keanu would say…..Whoa.
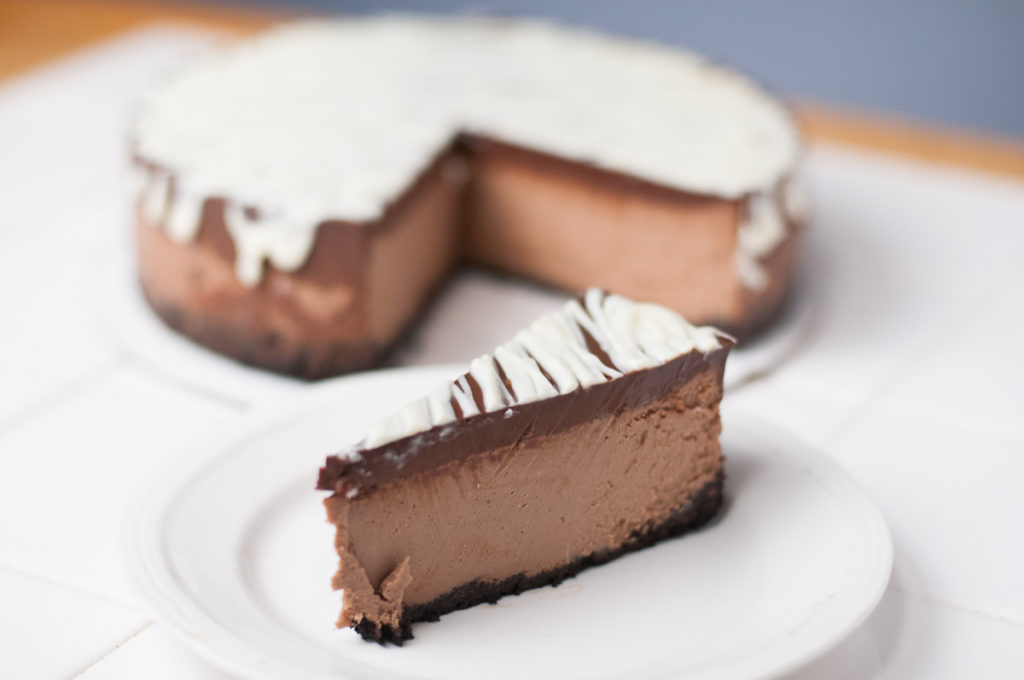
Chocolate to the 4th power is so rich you can easily get 12 or 14 slices from this 9-inch cheesecake. If you cut the slices too big you may not see clean plates.
Cut slices with a big sharp knife, wiping the blade after each cut, and plate them. (If you’re doing the cherry preserves as a bottom sauce put that on the plate first.)
Before you first open the Bonne Maman cherry preserves shake the jar vigorously using the paint-mixer motion…that will loosen ’em up.
Or, you can go with the DIY Cherry Sauce recipe
And the final step…
Dust with confectioners sugar.
Relax…wander out by the pool. Enjoy the raves. (In another post we’ll explore an alternate topping….creme anglais and fresh raspberries….then drizzle with amaretto…mmmm).
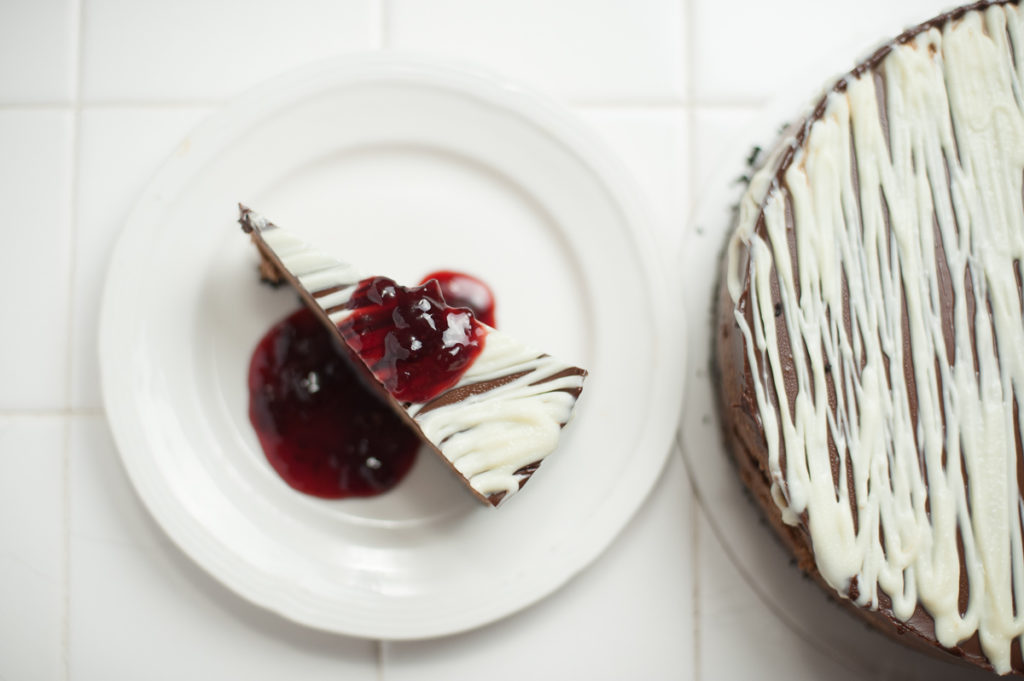
Pairings for chocolate to the 4th power cheesecake
Coffee. Espresso. Samuel Smith’s Organic Chocolate stout. Stone Russian Imperial stout. Ice wine. Port. Cappucino. Ice cold water.
Let’s boil it down: Once you’ve got the basics
1…Line the bottom of the 9″ Fat Daddio with a 9″ circle of parchment paper, Baker’s Joy everything. Oven at 300F.
2…Process or crush chocolate wafers, add the melted butter and almond extract until crumbs are moist but not soggy. Pat gently into bottom of pan.
3…Combine chocolate, heavy cream and espresso powder in the top of a double boiler. Gently heat, stirring occasionally, until it’s ganache. Remove from heat and set aside.
4…Beat 4 bricks on low until creamy. Add the condensed milk and vanilla and just incorporate. Spatula down the paddle and sides of the bowl and mix a little. Add the eggs one at a time and just incorporate. Add the chocolate ganache and incorporate, stop the mixer, spatula everything down, and mix a little more with the spatula. No streaks.
5…Pour over the crust and bake on 300F for 65 minutes, then turn off oven, leave door closed and let the cheesecake sit for 30 minutes.
6…Remove to cooling rack, immediately run knife around edge, cool to room temperature. Cover loosely with aluminum foil, then into refrigerator overnight.
7…Next day, make the 2nd chocolate ganache. Pour the ganache over the cheesecake while it’s still in the Fat Daddio. Swirl the pan around to completely cover the top. Back into the refrigerator.
8…Make the (3rd) white chocolate ganache. Remove the chocolate to the 4th power cheesecake from the pan and pipe the white chocolate ganache over the top.
9…Cut smallish slices with a big sharp knife, garnish with cherry preserves or cherry sauce and dust with confectioners sugar.
10…Kick back.
As always,

Links:
Chocolate to the 4th power cheesecake YouTube video
https://fatdaddios.com/catalog/cheesecake-pans choose 9 x 3
https://www.ikea.com/us/en/catalog/products/30111087/ cooling rack
What To Drink With What You Eat